To install memory DIMMs
1. If you have not already done so, print the configuration to find out how much memory is
installed in the MFP before adding more memory.
2. Turn off the MFP, and disconnect all the cables.
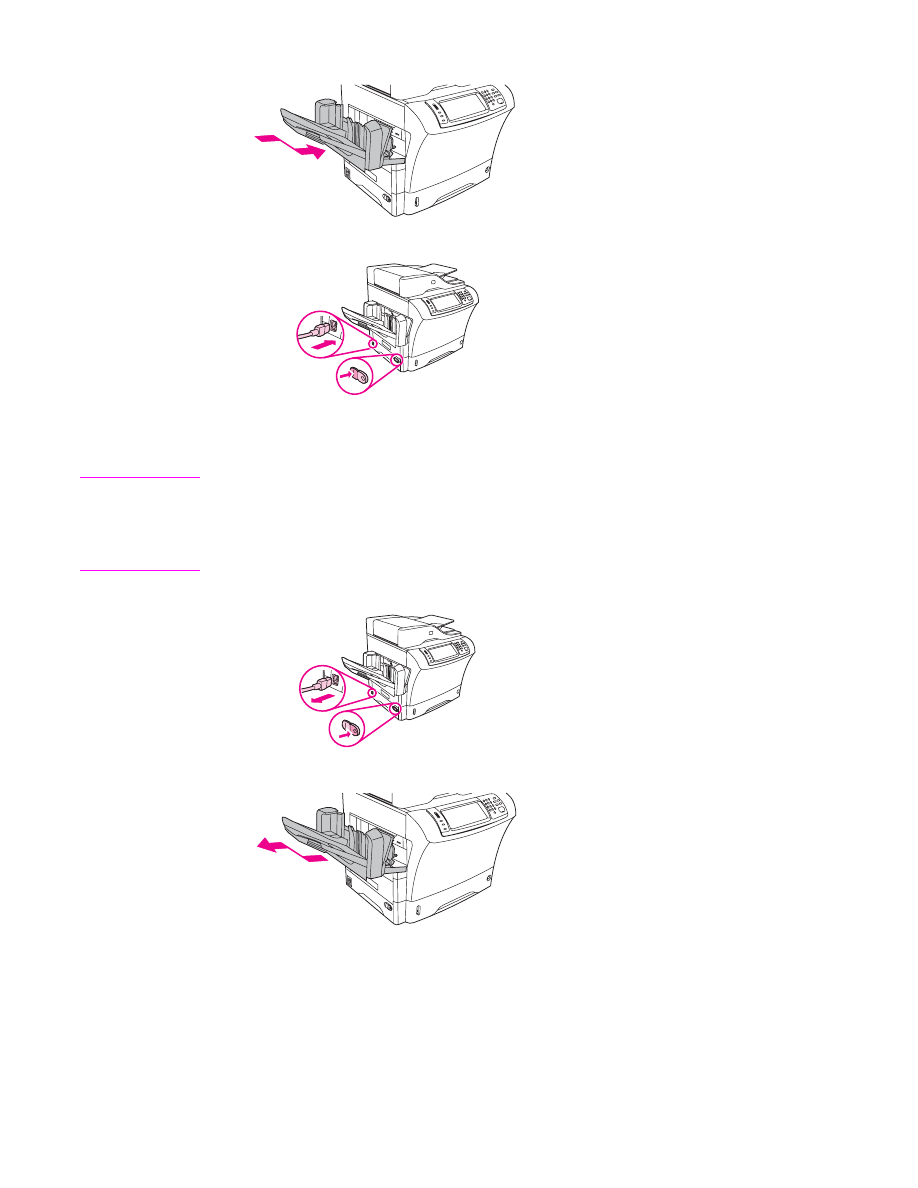
3. Remove the output bin, the 3-bin mailbox, or the stapler/stacker.
4. At the back of the MFP, remove the formatter cover.
5. Open the formatter door.
274
Appendix E MFP memory and expansion
ENWW

6. Remove the DIMM from the antistatic package. Hold the DIMM with your fingers against
the side edges and thumbs against the back edge. Align the notches on the DIMM with
the DIMM slot. (Check that the locks on each side of the DIMM slot are open, or outward.)
7. Press the DIMM straight into the slot (press firmly). Make sure the locks on each side of
the DIMM snap inward into place. (To remove a DIMM, the locks must be released.)
8. Close the formatter door.
9. Replace the formatter cover.
ENWW
Installing memory
275

10. Reinstall the output bin, the 3-bin mailbox, or the stapler/stacker.
11. Reconnect all the cables, and turn on the MFP.