Loading trays 2, 3, 4 and 5
Trays 2 , 3, 4, and 5 hold up to 500 sheets of standard media. For information about paper
specifications, see
Supported types and sizes of print media
.
The following are the detectable standard sizes, which are marked inside the tray:
●
A4
●
Letter
●
Legal
●
Executive
●
B5 (JIS)
●
A5
The following are the undetectable standard sizes:
●
16K
●
Executive (JIS)
●
8.5 x 13 (216 x 330 mm).
When loading undectable sizes, you need to manually set the size at the control panel. For
information about loading custom-size media, see
Loading custom-size media in trays 2, 3,
4, and 5
.
CAUTION
To avoid a jam, never add or remove paper from a tray while printing from that tray.
To load standard-size media in trays 2, 3, 4, and 5
Note
Do not load envelopes in trays 2, 3, 4, or 5. Use only tray 1 for printing on envelopes.
24
Chapter 1 MFP basics
ENWW

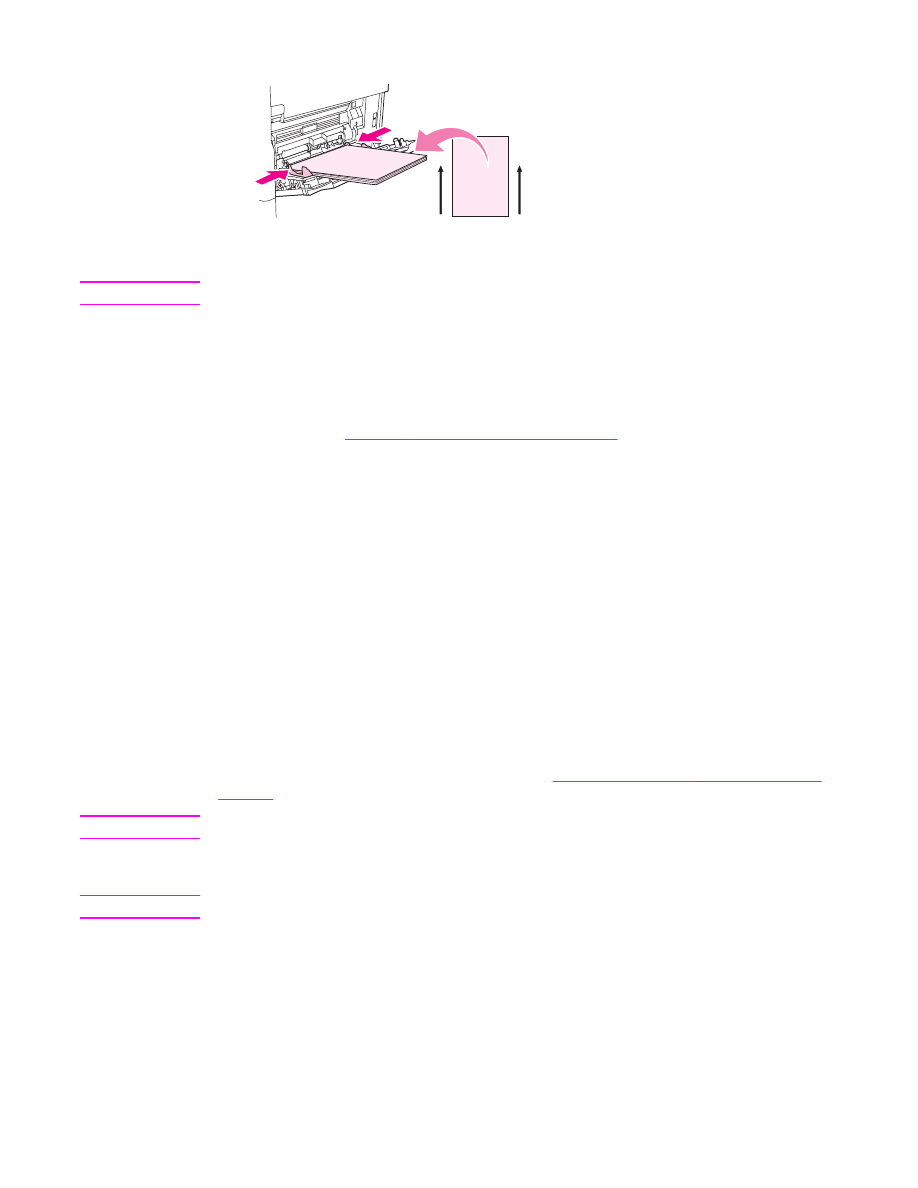
1. Open the tray until it stops.
2. Load the media into the tray.
Note
See
Orienting media
for information about loading preprinted, letterhead, and prepunched
paper.
3. Adjust the media-length guide by pressing the tab on the guide and moving it until it
touches the media stack.
4. Adjust the media-width guide by pressing the tab on the guide and moving it until it
touches the media stack.
5. Close the tray.
ENWW
Loading input trays
25

Note
Depending on the size that you selected, the MFP might prompt you to move the media
guides. Follow the instructions on the control panel.
Loading custom-size media in trays 2, 3, 4, and 5
1. Open the tray until it stops.
2. Press the tab on the left media guide and slide the guide all the way out.
3. Press the tab on the front media guide and slide the guide all the way out.
4. Load the media into the tray.
Note
See
Orienting media
for information about loading preprinted, letterhead, and prepunched
paper.
26
Chapter 1 MFP basics
ENWW

5. Adjust the left media guide by pressing the tab on the guide and sliding the guide until it
gently touches the media stack
6. Adjust the front media guide by pressing the tab on the guide and sliding the guide until
it gently touches the media stack.
7. Look at the package for the ream of paper. Note the value of the width (X dimension)
and the length (Y dimension). You will need this information for a later step.
8. Close the tray.
9. If the size that appears on the control panel is CUSTOM, then the tray size is set to ANY
CUSTOM. The tray will match any custom-size print job, even if the print-job dimensions
are different from the dimensions of the media that is loaded in the tray. If you prefer,
you can specify the exact dimensions of the custom-size media that is loaded in the tray.
When you specify exact dimensions, the dimensions appear as the size, rather than
CUSTOM.
Touch CUSTOM. The UNIT OF MEASURE menu appears.
Note
The MFP might prompt you to move the media guides. Follow the instructions on the control
panel.
10. Touch MILLIMETERS or touch INCHES.
11. Use the numeric keypad to select the X dimension (short edge).
12. Touch OK.
13. Use the numeric keypad to select the Y dimension (long edge).
14. Touch OK. SETTING SAVED appears on the control-panel display for a moment. The
tray size then appears.
15. Touch EXIT to accept the settings. The tray is ready to use.
ENWW
Loading input trays
27